Before You Sign That Estimate: How to Decode a Repair Bill Using Your OBD-II Code and a Little Homework
The Number on That Estimate Isn't Random — But It Might Be Inflated
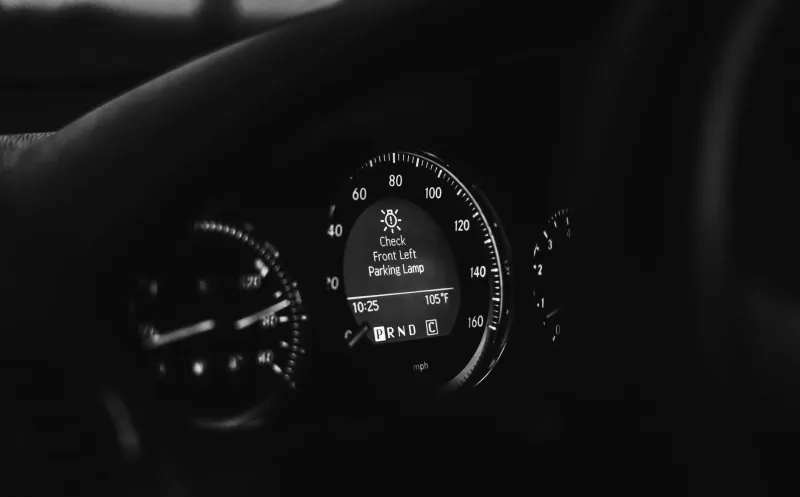
Let's set the scene. Your check engine light comes on. You drive to a shop, pay a diagnostic fee, and walk out with a piece of paper that says something like "Replace MAF sensor — $340" or "Oxygen sensor replacement — $295." You nod, sign, and drive home lighter in the wallet.
Here's the thing: those numbers aren't arbitrary. But they're also not fixed. Labor rates, parts markups, and flat-rate hour estimates vary wildly from shop to shop — and some of that variation has nothing to do with your actual repair. It has to do with how much the shop thinks you'll push back.
The good news? Your OBD-II code is essentially a roadmap. Once you know the code, you can do about 15 minutes of homework that might save you $100, $200, or more.
Step One: Get Your Code in Writing
Before anything else, make sure you have the actual diagnostic trouble code — not just a vague description like "sensor issue" or "emissions problem." A legitimate shop should always give you the code. It'll look something like P0101, P0141, or P0401. If they won't give it to you, that's a red flag worth noting.
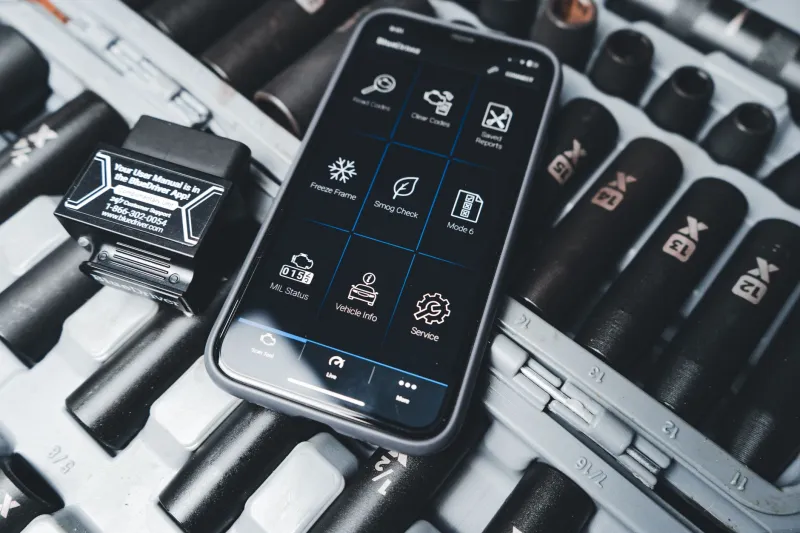
If you have your own OBD-II scanner (even a $25 one from Amazon works fine for reading codes), you can pull the code yourself before you ever visit a shop. That puts you ahead of the conversation from the start.
Step Two: Look Up What That Code Actually Requires
Here's where it gets useful. Once you have the code, sites like OBD-Codes.com, AutoCodes.com, or even a quick Google search will tell you exactly what system or component that code relates to. More importantly, they'll often outline the most common fixes.
Take P0171 as an example. That's a "System Too Lean (Bank 1)" code. The most common culprits? A dirty MAF sensor, a vacuum leak, or a faulty oxygen sensor. Not every P0171 requires a $400 MAF sensor replacement — sometimes a $7 can of MAF cleaner and 10 minutes of your time is all it takes.
Knowing this before you walk in means you can ask the shop a pointed question: "What specifically confirmed the MAF sensor needs replacing, versus just being cleaned?" A good technician will have a real answer. A shop trying to upsell you may not.
Step Three: Check the Actual Parts Cost
This one's almost too easy, and yet most people skip it. Pull up RockAuto.com, AutoZone, O'Reilly, or even Amazon and search for the part associated with your code and your vehicle's year, make, and model.
Real example: A P0420 code (catalyst system efficiency below threshold) sometimes leads to a shop recommending an upstream oxygen sensor replacement. Search that sensor for a 2017 Honda Accord on RockAuto and you might find it for $18–$45 depending on brand. If your estimate lists the part at $120, you're looking at a significant markup — and that's worth asking about.
Shops do legitimately mark up parts. That's standard practice. But a 3x to 5x markup on a commodity sensor? That's a conversation starter, not a given.
Step Four: Understand Flat-Rate Labor Hours
Labor is where most people feel completely in the dark, but it doesn't have to be. The auto repair industry uses a system called flat-rate hours — essentially, a standardized estimate of how long a given repair should take on a given vehicle. Two resources that publish this data are Mitchell1 and AllData, both used by professional shops. Some public-facing versions of this data are available through sites like RepairPal.com.
Type your vehicle and repair type into RepairPal and you'll get a labor hour range alongside a fair total cost estimate for your zip code. If a shop is quoting you 3 hours of labor for a job RepairPal estimates at 1.2 hours, that's a discrepancy worth raising.
You don't need to be confrontational about it. A simple "I looked up the typical labor time on RepairPal and it showed about 1.5 hours — can you walk me through why this job requires more?" is a reasonable, professional question. Most honest shops will explain themselves. Some will quietly revise the estimate.
The Questions That Actually Move the Needle
Armed with your code, your parts research, and a rough labor benchmark, here are the specific questions to ask before you authorize anything:
"What code or codes triggered this recommendation?" If they can't give you a specific code, ask why not.
"What diagnostic steps confirmed this specific part needs replacing?" A code tells you a system is failing — it doesn't always tell you which component. A good tech should have done additional testing.
"Is this OEM or aftermarket, and what's the warranty on the part?" Shops sometimes charge OEM prices for aftermarket parts. That's not always wrong, but you should know what you're getting.
"Can I see the labor time estimate you're working from?" Most shops use a flat-rate guide. Asking to see the basis for the labor charge is completely reasonable.
"What happens if I don't fix this right now?" Some codes indicate urgent safety issues. Others are emissions-related and won't leave you stranded. Knowing the difference helps you decide whether to authorize work immediately or get a second opinion.
When to Walk Away and Get a Second Quote
If a shop gets defensive about any of these questions, that tells you something. Transparency is table stakes in a legitimate repair relationship. A mechanic who's confident in their diagnosis and pricing should have no problem walking you through it.
For any repair estimate over $300, it's worth calling one other shop with your code in hand and asking for a rough quote. You're not trying to lowball anyone — you're establishing a baseline. Two quotes rarely land in the same place, but if one is dramatically higher with no clear explanation, you have your answer.
Your Code Is the Starting Point, Not the Ending Point
The check engine light gets a bad reputation for being cryptic and expensive. And sure, sometimes a repair genuinely costs what it costs. But more often than not, a little code literacy goes a long way toward keeping a manageable repair from turning into an inflated bill.
At Code One Auto, we say it plainly: diagnose it, fix it, drive it. That middle step — actually fixing it — should be based on accurate information and fair pricing. Your OBD-II code is the first word in that conversation. Make sure you're the one who finishes it.